Go back to round 24 of the body where we left the front loops free. Insert the yarn on any stitch in the back, chain 1 and on that same stitch go on.
Rnd 1. 5 sc, inc, 10 sc, inc, 5 sc (24)
Rnd 2. (3 sc, inc)*6 (30)
Rnd 3. 30 sc
Rnd 4. (4 sc, inc)*6 (36)
Rnd 5-9. 36 sc
Rnd 10. FLO (1 sc, chain 1)*36
Finish off and weave.
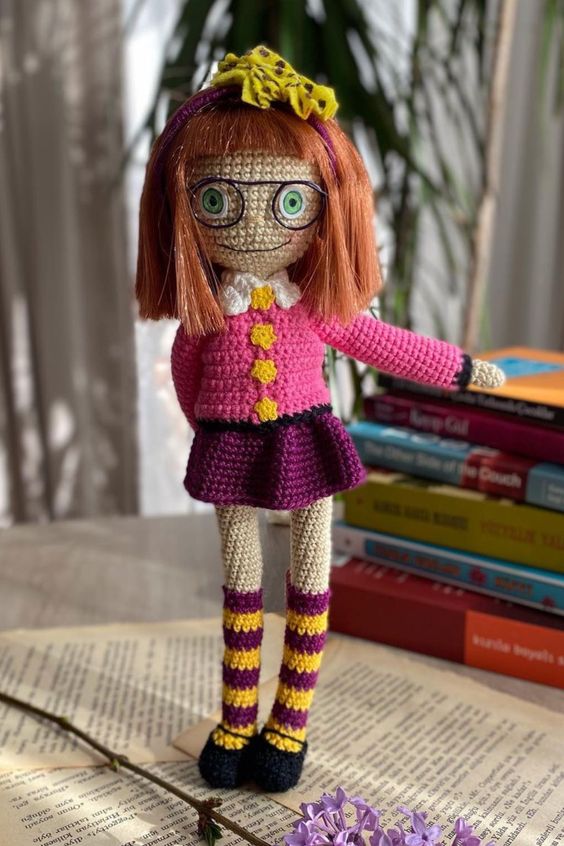
Hair
Rust /orange yarn
Rnd 1. MR 6 sc
Rnd 2. 6 inc (12)
Rnd 3. (1 sc, inc)*6 (18)
Rnd 4. 1 sc, inc, (2 sc, inc)*5, 1 sc, inc (24)
Rnd 5. (3 sc, inc)*6 (30)
Rnd 6. 2 sc, inc, (4 sc, inc)*5, 2 sc (36)
Rnd 7. (3 sc, inc)*9 (45)
Rnd 8. 22 sc, inc, 21 sc, inc (47)
Rnd 9-12. 47 sc
Rnd 13. 23 sc, inc, 22 sc, inc (49)
Rnd 14-17. 49 sc
Rnd 18. 12 sc, 1 hdc, 5 dc, 1 tc, 4 dc, 1 sc, 1 sl, 1 sc, 4 dc, 1 tc, 5 dc, 1 hdc, 12 sc, 1 sl
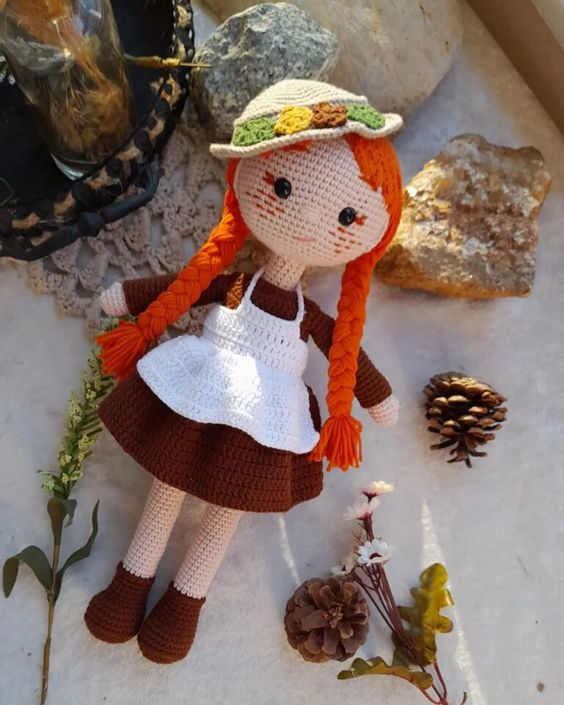
Leave a long tail to sew the wig to the head or you can glue it with a glue gun. To do the braids cur 12 pieces of rust yarn about 30 cm (11 inches). Grab two strands, fold them in half and insert them on round 18 following the next.
Directions: Count 7 stitches from the last hdc (make on round 18) and place 2 should have 12 strands (4 on each stitch) to make a braid. Braid the doll’s hair and secure them with a knot.
We have come to the part where we will do the most enjoyable crochet. Let’s crochet the white apron of the Amigurumi pattern. 
Apron
White yarn
Work in rows, before starting a new row make a turning chan for single crochet and 2 turning chains for double crochet. Chain 19, skip the last chain made and start.
Row 1. 2 sc, chain 4, skip 4 stitches in the main chain, 6 sc, chain 4, skip 4 stithes in the main chain, 2 sc (18)
Row 2-7. 18 sc
Row 8. inc in dc (36)
Row 9-11. 36 dc
Sew a button on the left edge in row 6 and chain 14 on the right edge, join with a sl in the same stitch.
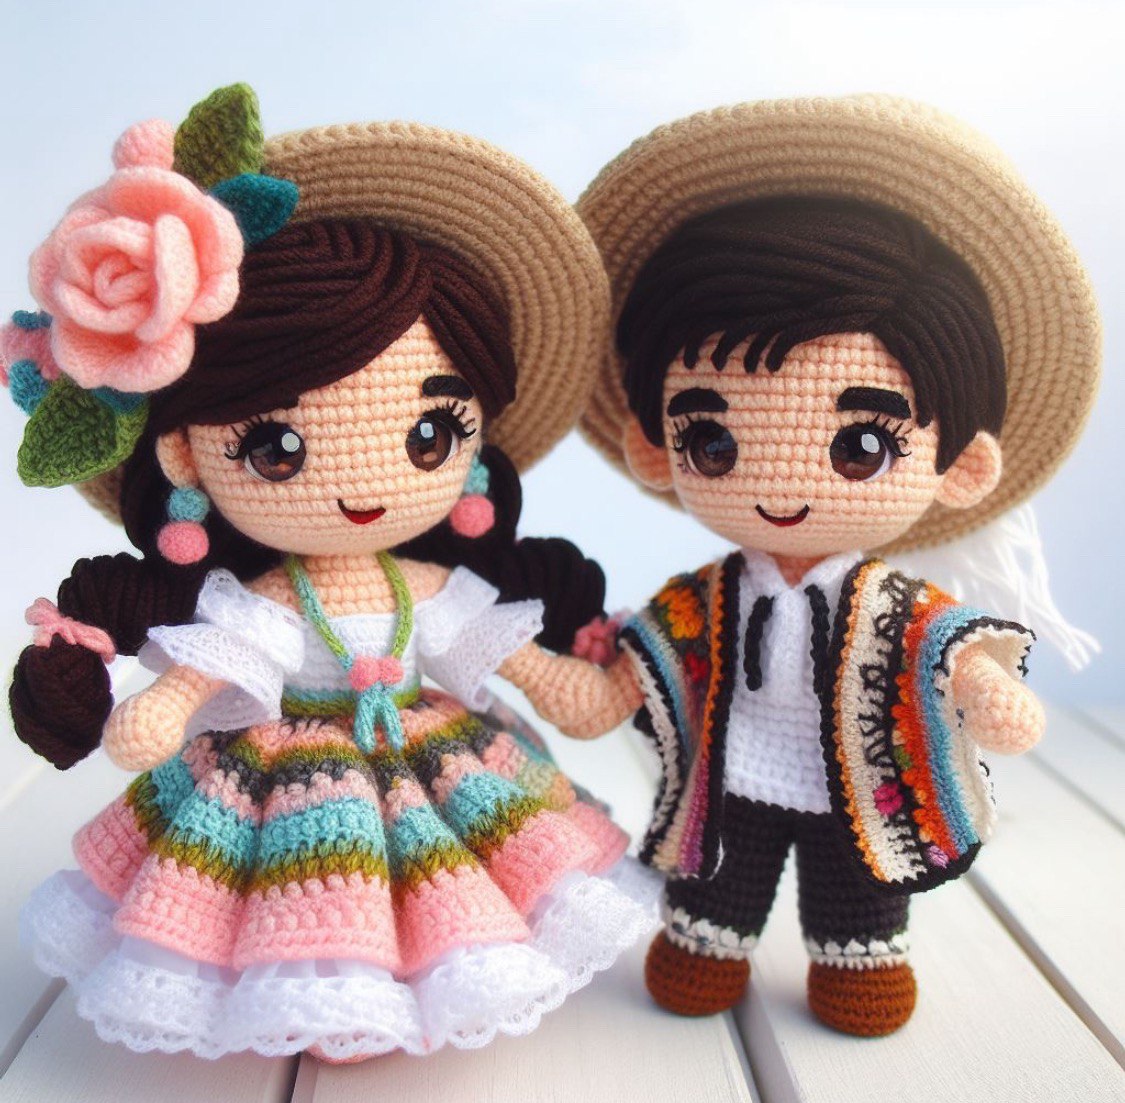
We have completed the apron of the amigurumi pattern. Now let’s crochet the hat she will wear while walking in the flower gardens.
Hat
Light brown yarn
Rnd 1. MR 6 sc
Rnd 2. 6 inc (12)
Rnd 3. (1 sc, inc)*6 (18)
Rnd 4. 1 sc, inc, (2 sc, inc)*5 (24)
Rnd 5. (3 sc, inc)*6 (30)
Rnd 6. 2 sc, inc, (4 sc, inc)*5, 3 sc (48)
Rnd 7. 5 (sc, inc)*6 (42)
Rnd 8. 3 sc, inc (6 sc, inc)*5, 3 sc (48)
Rnd 9. BLO 48 sc
Rnd 10. 48 sc
Rnd 11. FLO (7 sc, inc)*6 (54)Light brown yarn
Rnd 1. MR 6 sc
Rnd 2. 6 inc (12)
Rnd 3. (1 sc, inc)*6 (18)
Rnd 4. 1 sc, inc, (2 sc, inc)*5 (24)
Rnd 5. (3 sc, inc)*6 (30)
Rnd 6. 2 sc, inc, (4 sc, inc)*5, 3 sc (48)
Rnd 7. 5 (sc, inc)*6 (42)
Rnd 8. 3 sc, inc (6 sc, inc)*5, 3 sc (48)
Rnd 9. BLO 48 sc
Rnd 10. 48 sc
Rnd 11. FLO (7 sc, inc)*6 (54)
Rnd 12. 4 sc, inc, (8 sc, inc)*5, 3 sc, sl (60)
Finis off and weave.
You can embroider or crochet a row with darker brown to male the hat look prettier. To finish with some last few details, you can embroider or draw freckles with a marker.
Light brown yarn
Rnd 1. MR 6 sc
Rnd 2. 6 inc (12)
Rnd 3. (1 sc, inc)*6 (18)
Rnd 4. 1 sc, inc, (2 sc, inc)*5 (24)
Rnd 5. (3 sc, inc)*6 (30)
Rnd 6. 2 sc, inc, (4 sc, inc)*5, 3 sc (48)
Rnd 7. 5 (sc, inc)*6 (42)
Rnd 8. 3 sc, inc (6 sc, inc)*5, 3 sc (48)
Rnd 9. BLO 48 sc
Rnd 10. 48 sc
Rnd 11. FLO (7 sc, inc)*6 (54)
Rnd 12. 4 sc, inc, (8 sc, inc)*5, 3 sc, sl (60)
Finis off and weave.
You can embroider or crochet a row with darker brown to male the hat look prettier. To finish with some last few details, you can embroider or draw freckles with a marker.Rnd 12. 4 sc, inc, (8 sc, inc)*5, 3 sc, sl (60)
Finis off and weave.
You can embroider or crochet a row with darker brown to male the hat look prettier. To finish with some last few details, you can embroider or draw freckles with a marker.


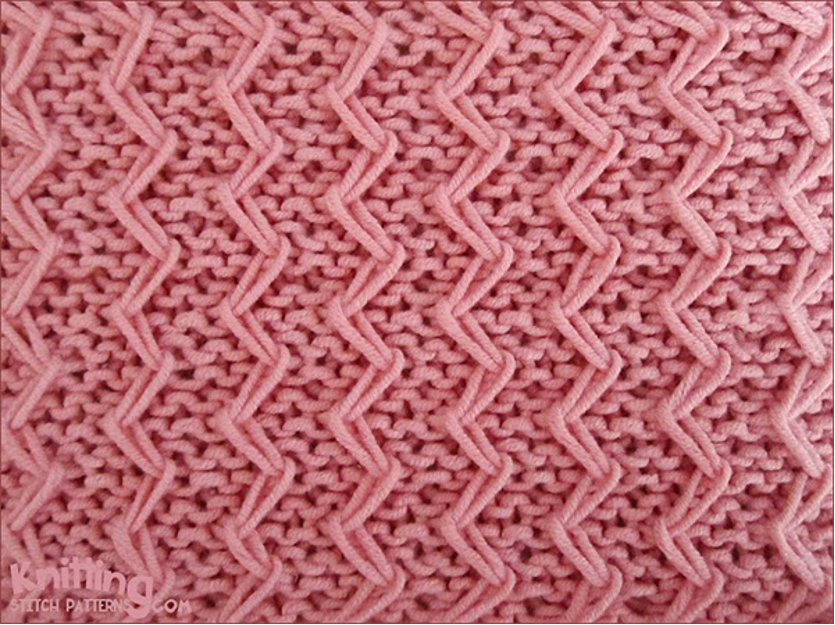 Yarn shown in this swatch: Milk cotton China.
 Knitted in a multiple of 4, + 2 sts and a 24-row repeat.


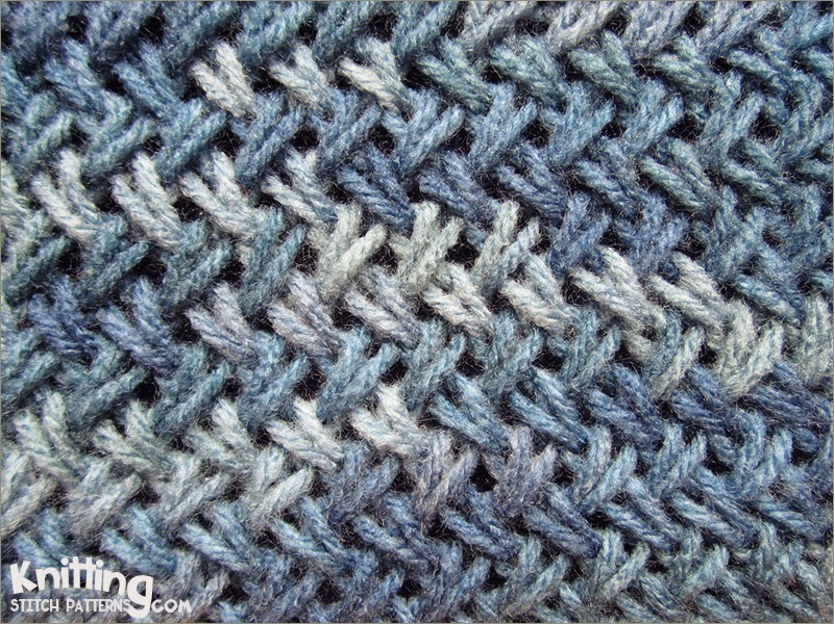 Knitted in a multiple of 2 sts + 1 and 2-row repeat.
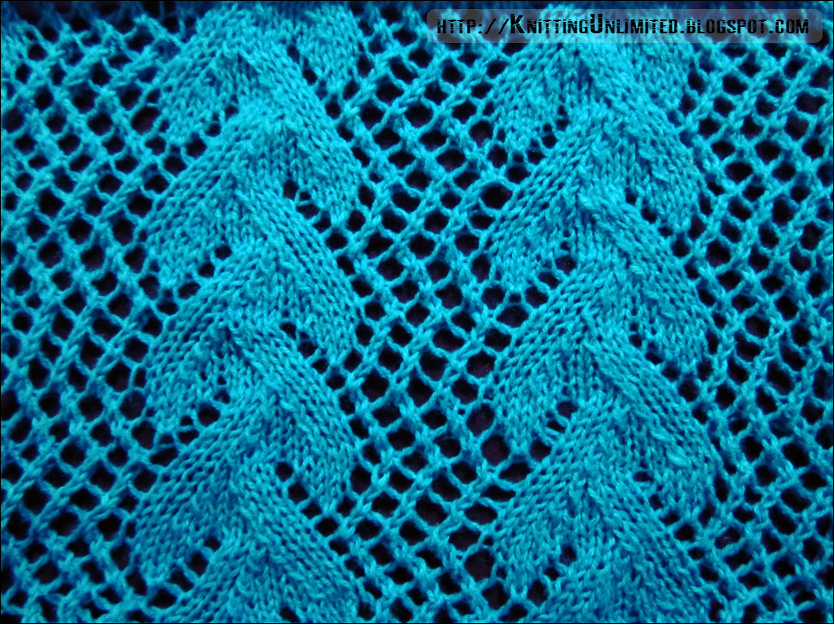

 Knitted in a multiple of 17, + 2 sts and 16-row repeat.
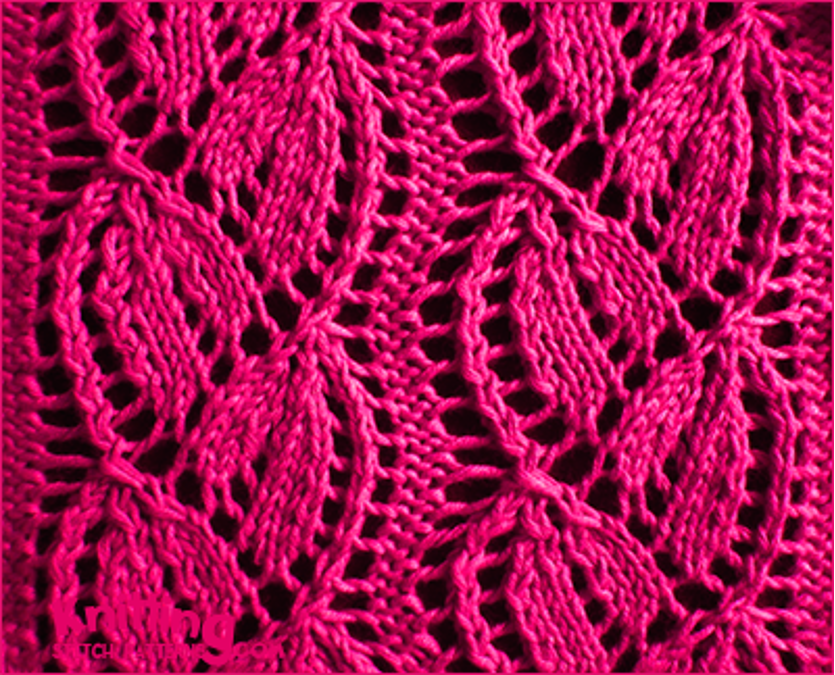
 Cast on loosely a multiple of 3 sts, + 2.