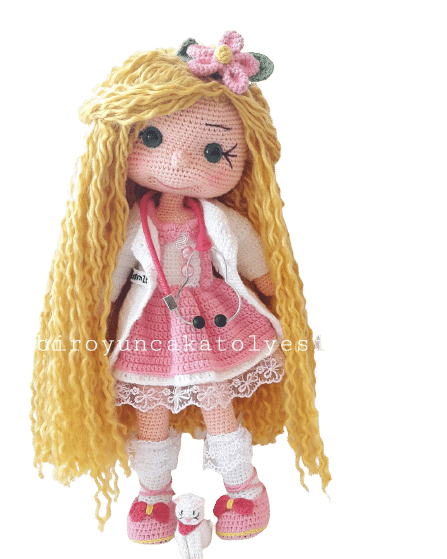
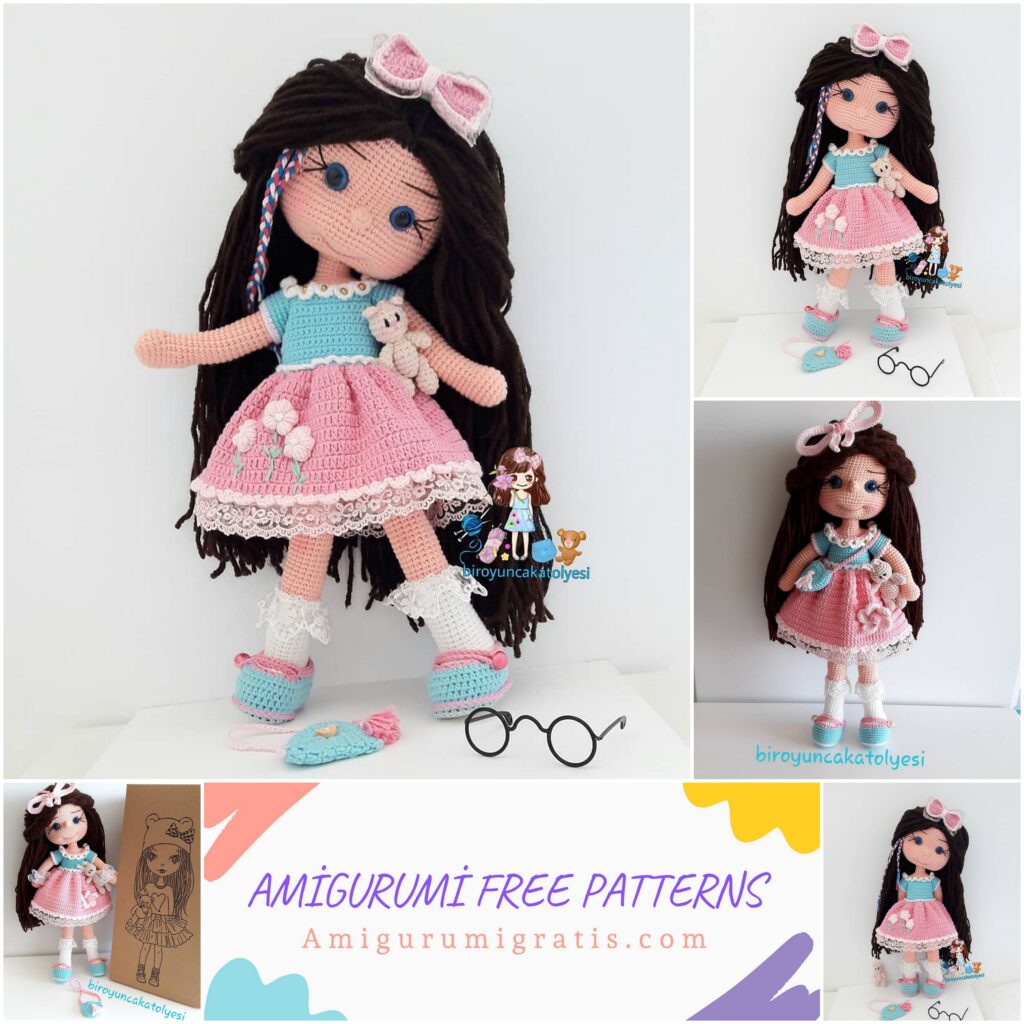
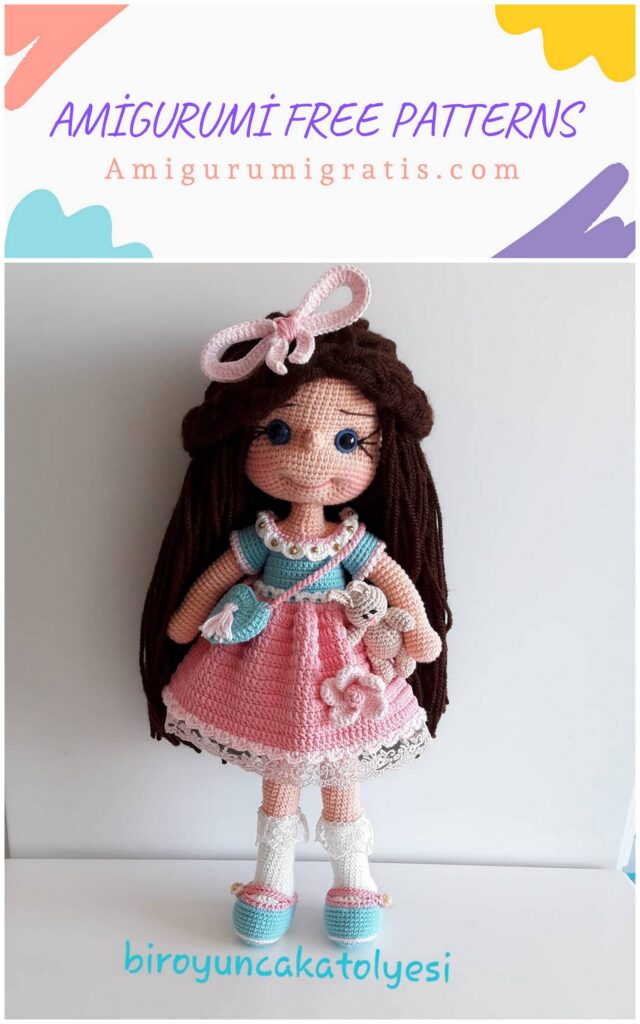
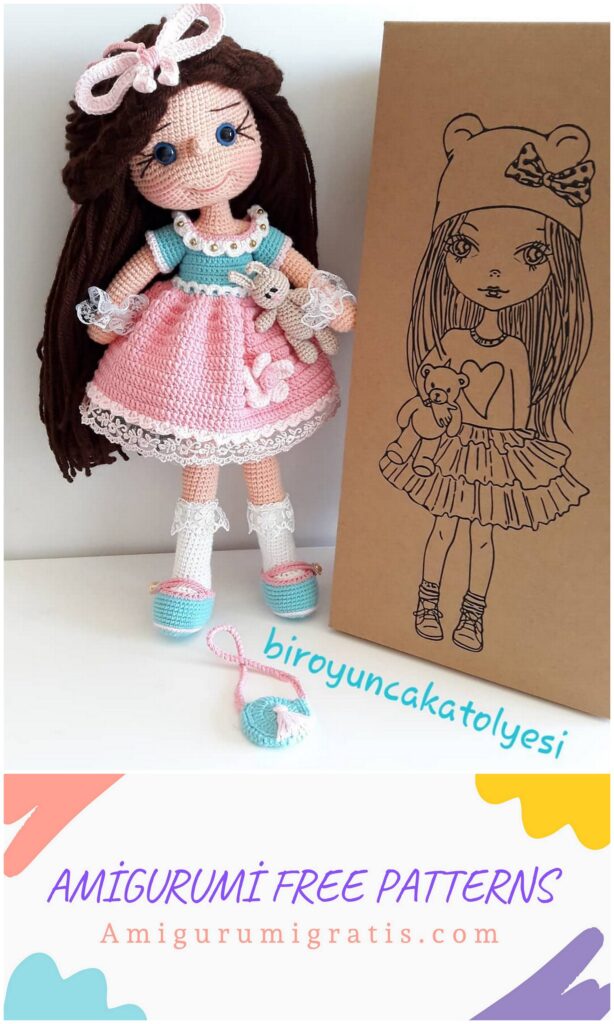
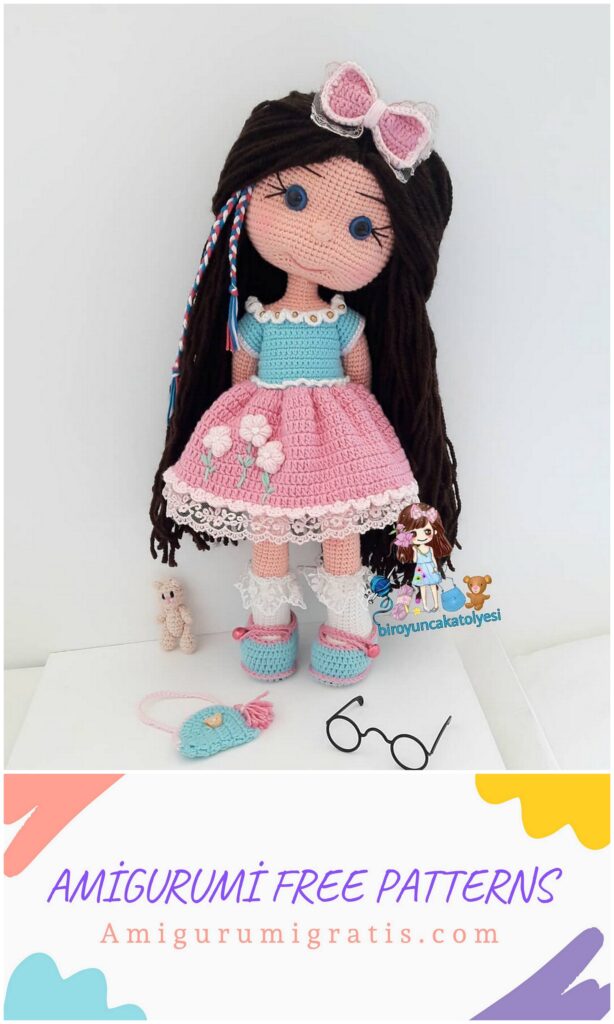
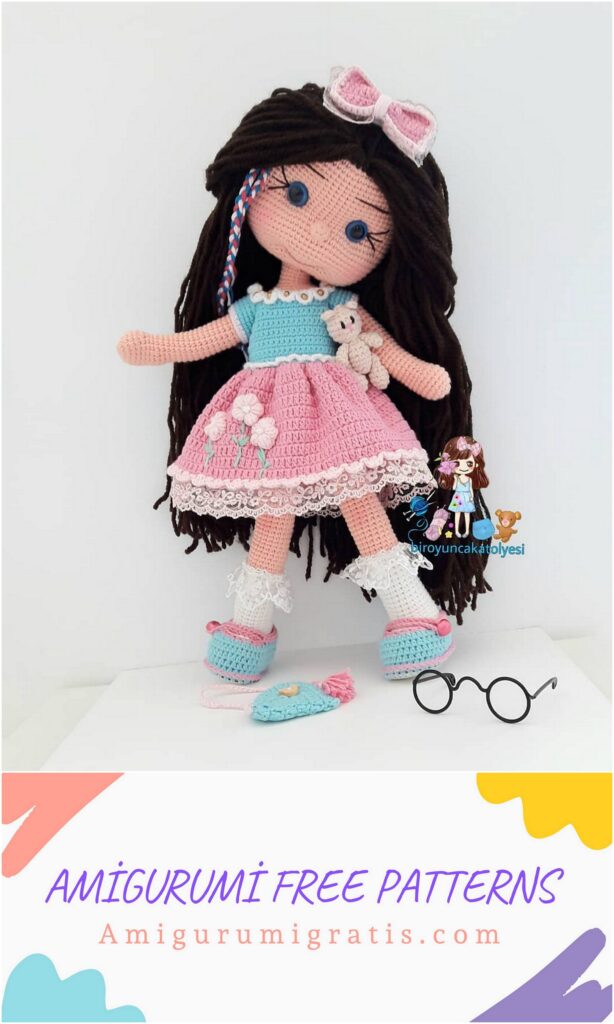
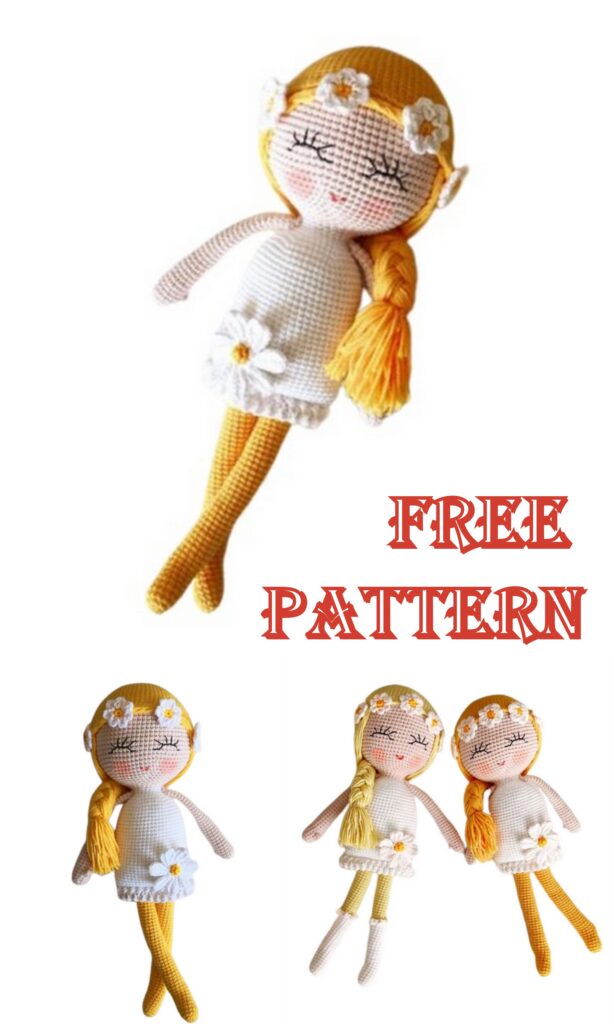
Amigurumi Çiçekli Kız
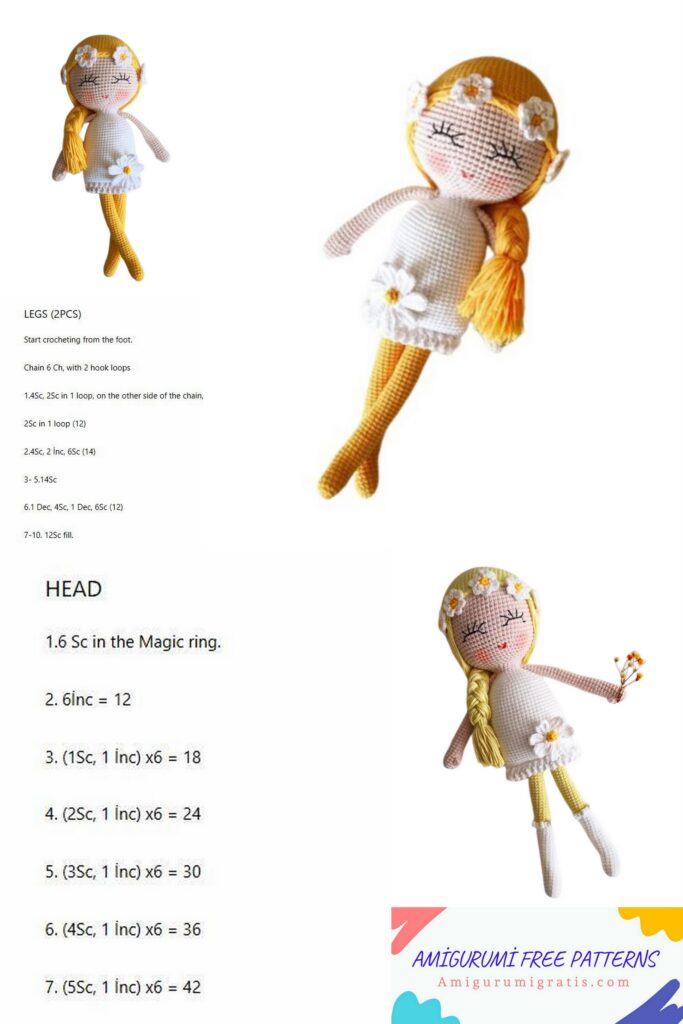
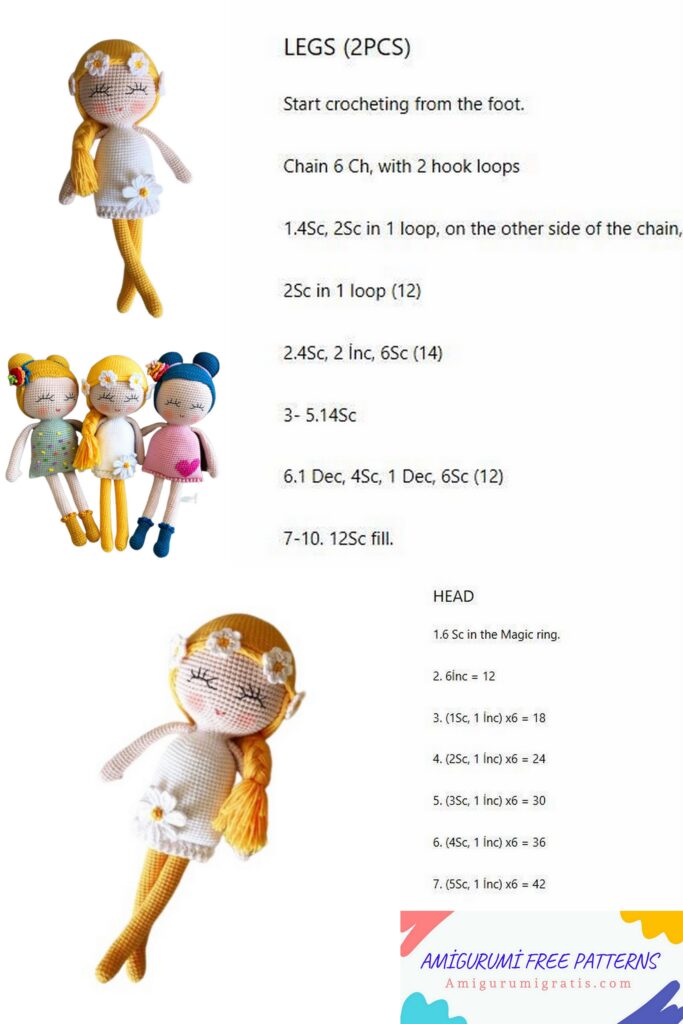
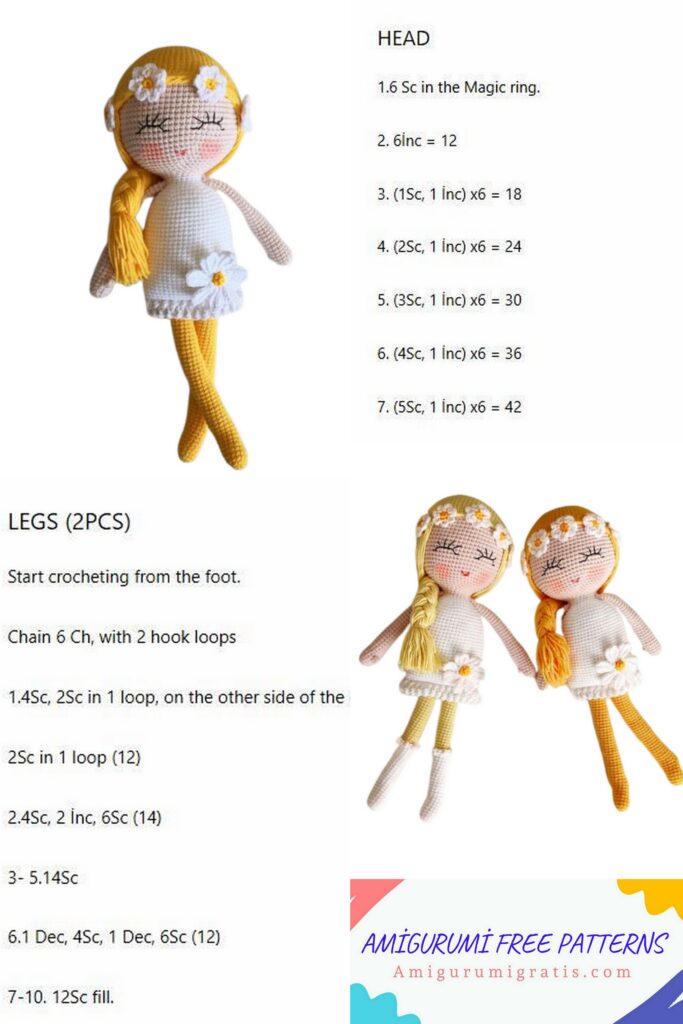
Kafa Yapımı
1- Sh içine 6x
2- 6v=12x
3- (1x 1v)6=18x
4- (2x 1v)6=24x
5- (3x 1v)6=30x
6- (4x 1v)6=36x
7- (5x 1v)6=42x
8- (6x 1v)6=48x
9- (7x 1v)6=54x
10- (8x 1v)6=60x
11- (9x 1v)6= 66
12/23- sıralara 66x
24- (10x 1w )6=78x (Gözler bu sıradan 1 sıra önce takılmalıdır. Göz arası 10x boşluk bırakabilirsiniz.)
25- (12x 1v)6=84x
26/29- sıralarda 84x
30- (12x 1a)6=78x
31- (11x 1a)=72x
32- (10x 1a)6=66x
33- (9x 1a)6=60x
34- (8x 1a)6=54x
35- (7x 1a)6=48x
36- (6x 1a)6=42x
37- (5x 1a)6=36x
38- (4x 1a)6=30x
39- (3x 1a)6=24x
40- (2x 1a)6=18x kafamız bitti.
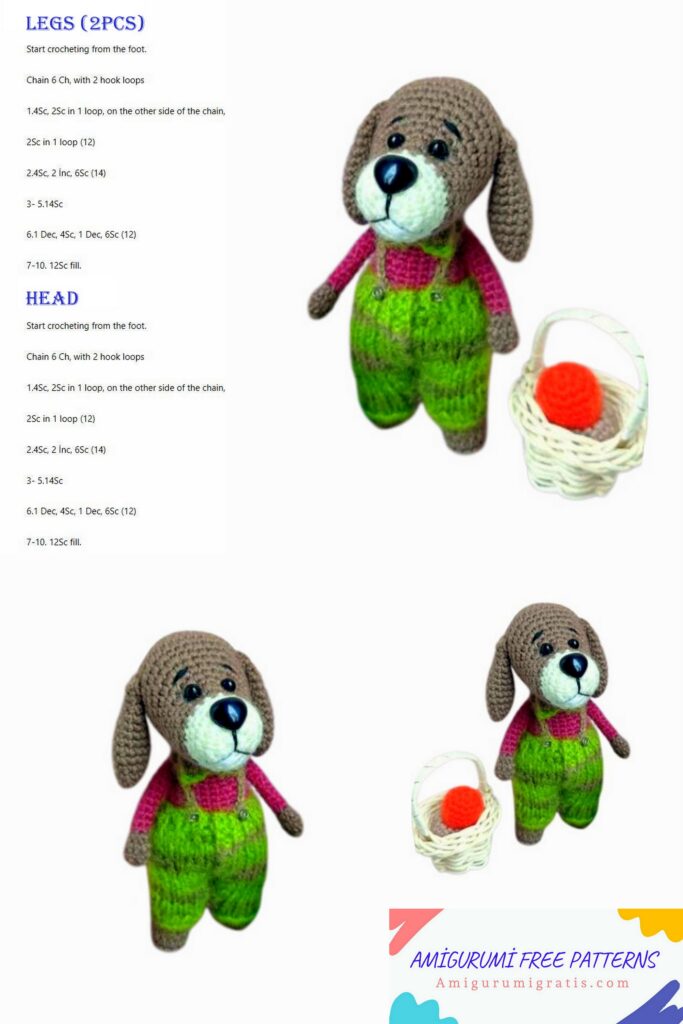
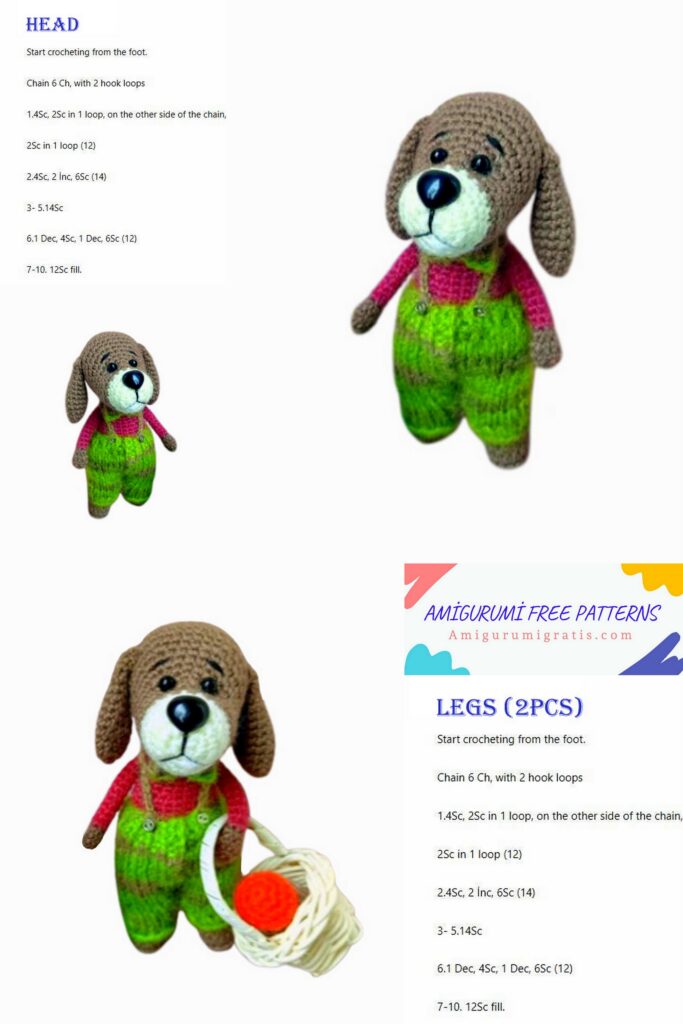
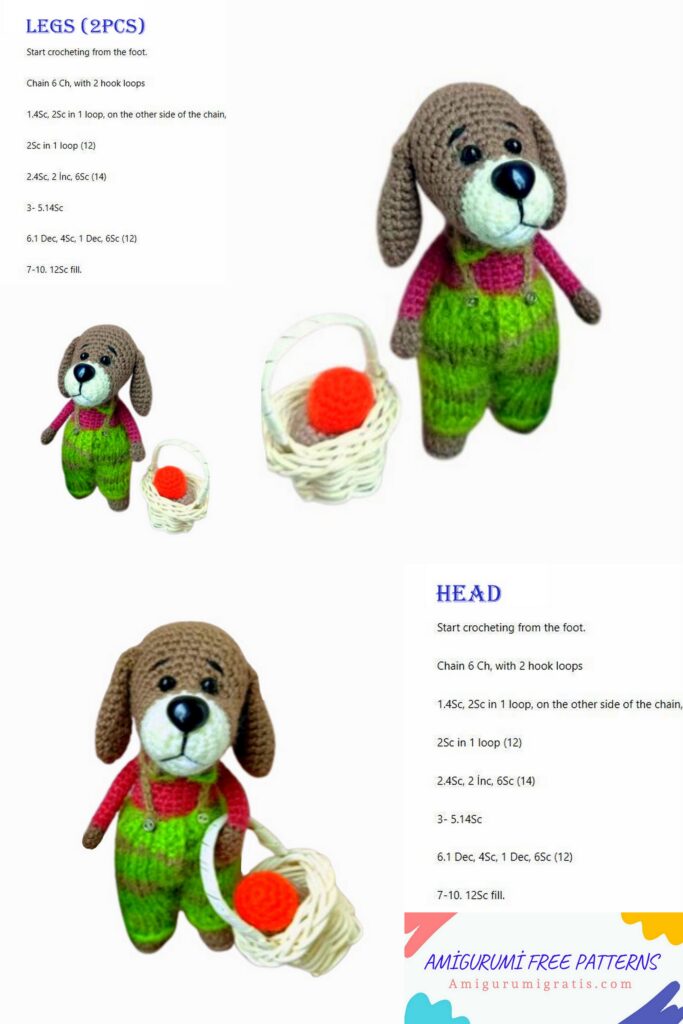
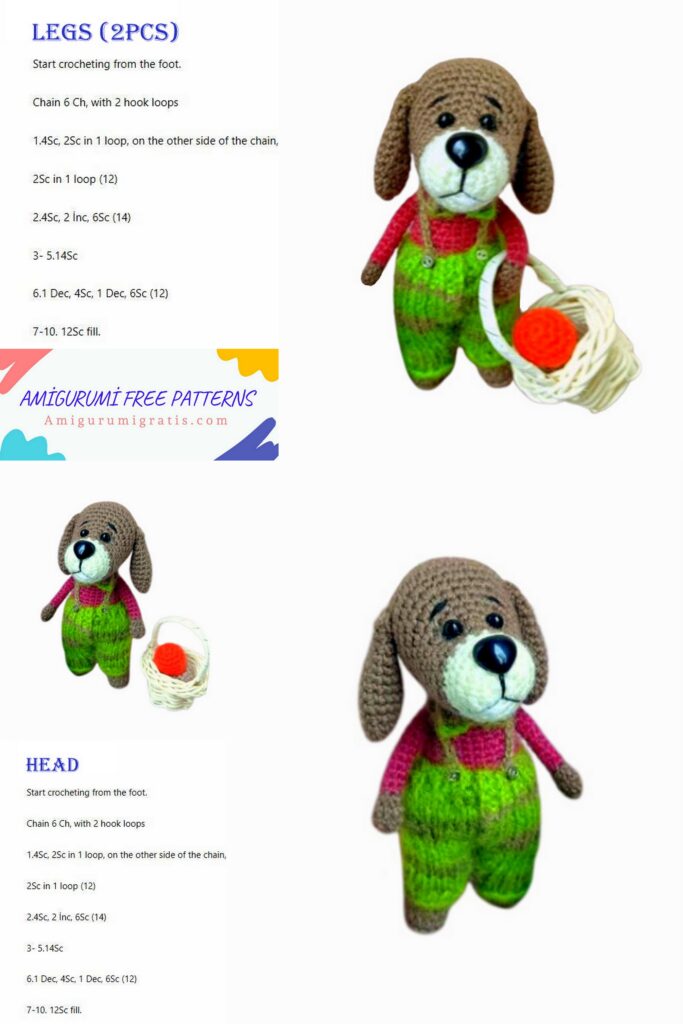
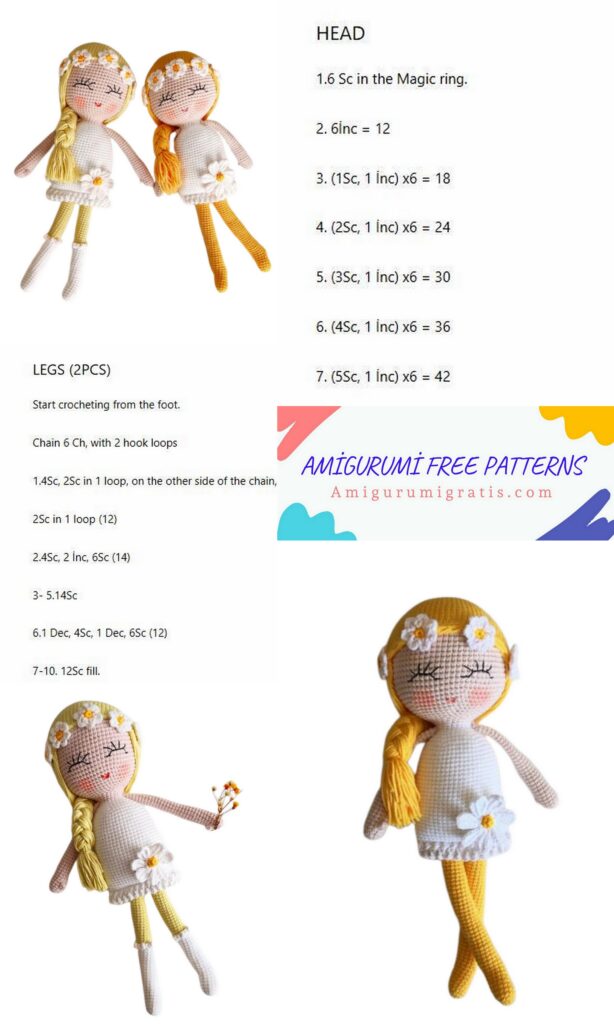
Ayak, Bacak ve Gövde Yapımı
1-10 zincir, geri dön 2. zincire 1x,7x ayni yere 3x, 7x, 1v =20x
2-1v, 7x, 3v, 7x, 2v =26
3-1x, 1v, 7x, (1x,1v)3, 7x, (1x,1v)2 =32x
4-2x, lv, 7x, (2x,1v)3, 7x, (2x,1v)2 = 38x
5-8) 38x
9-10x, (1a,1x)*6, 10x =32x
10-10x, 6a, 10x =26x
11-8x, 6a, 6x =20x
12-9x, 1a, 9x =19x
13-26 arası (14 sira) = 19x
27- flo olarak 19x (Çoraba fırfır yapmak isterseniz; 27.Sıradan sonra tekrar flo olarak 3 zincir aynı yere bat. Bu işleme çorap çevresi bitene kadar devam edin.)
Ten rengi ip ile;
27. siranin blo kısmına 9x, la, 8x = 18x
28-50 arası (22 sıra)= 18x
Iç çamaşırı için beyaz renge geçelim.
51-18x
52-Flo olarak 3 zincir çek aynı yere bat, sıra sonuna kadar aynı işlemi yapalım. Fırfır oluşmuş olacak.
52. sıranın blo kısmına 2 zincir ile geçiş yapalım.blo olarak 17x, 1v = 19x
53-57. Sıralar arası = 19x
Ipi kesip diğer bacağı örelim. Son bacağın ipini kesmeyelim ve onu bebeğin sağ bacağı olarak ayarlayalım. Bacakları hizalayalım, yanlarini ortalayalım ve 5 zincir çekip sağ bacağı sol bacağa bağlayalım.(Resimlerden yardım alabilirsiniz)
58-19x sol bacak +5x zincirin ön tarafından, 19x sağ bacak + 5x zincirin arka tarafından = 48x
**Yer belirleyicinizi iki bacağın birleşim yerine takalım.( Resimde mevcut)
59-64 arası =48x
65-(6x,1a)*6 =42x
Gövde
Ten rengine geçelim
66-68 =42x
69-(5x,1a)*6 =36x
70-84 arası =36x
(85. sırada Telleri Yerleştirelim. Kol tarifine geçip kolları tamamlayalım.)
85-Sol kolun birleşeceği yere kadar gövdeye sık iğne yapalım ve yer belirleyiciyi buraya alalim. 4 sik iğne sol koldan, 4 sık iğne vücuttan üst üste koyup birlikte örelim.(Resimlere bakabilirsiniz)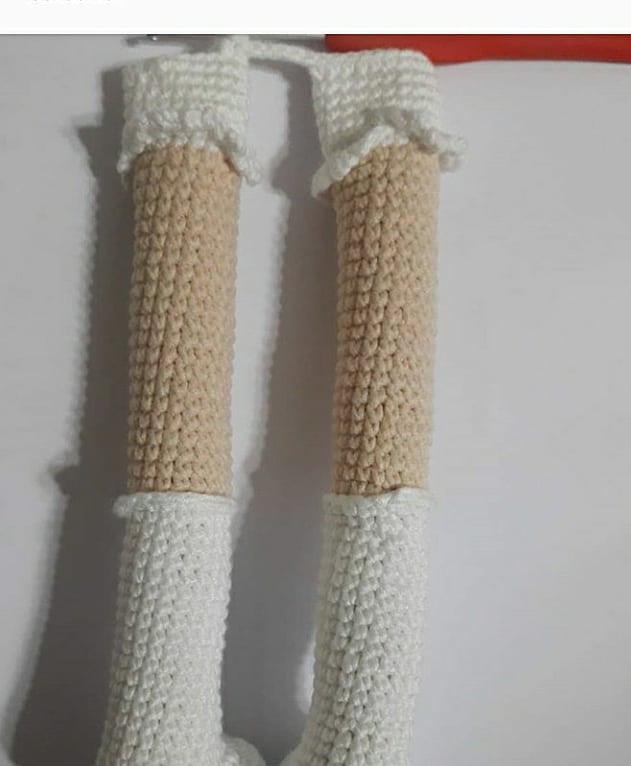
14x vücudun önünden, 4x vücut ve sağ koldan, 14x vücudun arkasından.
86-Sol kol açıkta kalan 10x, 14x ön vücut, sağ kol açıkta kalan 10x, 14x arka vücut=48x
87-Sol kol (1a,6x, 1a), 14x ön vücut, Saž kol (1a,6x,1a), 14x arka vücut =44x
88-Sol kol (1a,4x, 1a), ön (6x,10,6x), Sağ kol (1a, 4x,1a), arka (6x,1a,6x) =40x
89-Sol kol (1a,2x, 1a), ön (5x,10,6x), Sağ kol (12,2x,1a), arka (6x,1a,5x)
90-Sol kol (1a, 1x,1a), ön (4x,1a,5x), Sağ kol (1a,1x,1a), arka (6x,1a,4x)
91-Sol kol 2a, ön (3x,1a, 4x), Sağ kol 2a, arka (4x,la,3x)
92-Sol kol 1a, ön 8x, Sağ kol 1a, arka 8x = 18x
93-98 arası =18x
KOL YAPIMI
1-Sh içine 6x
2-6v =12x
3-(1v,3x)*6 =18x
4-6 arası 18x
7-2a, 14x = 16x
8- 2a, 12x = 14x
9-32 arası (24 sira) =14x
BURUN YAPIMI
1-Sh içine 6x
2-(2x,1v)*2 =8x
3- 8x
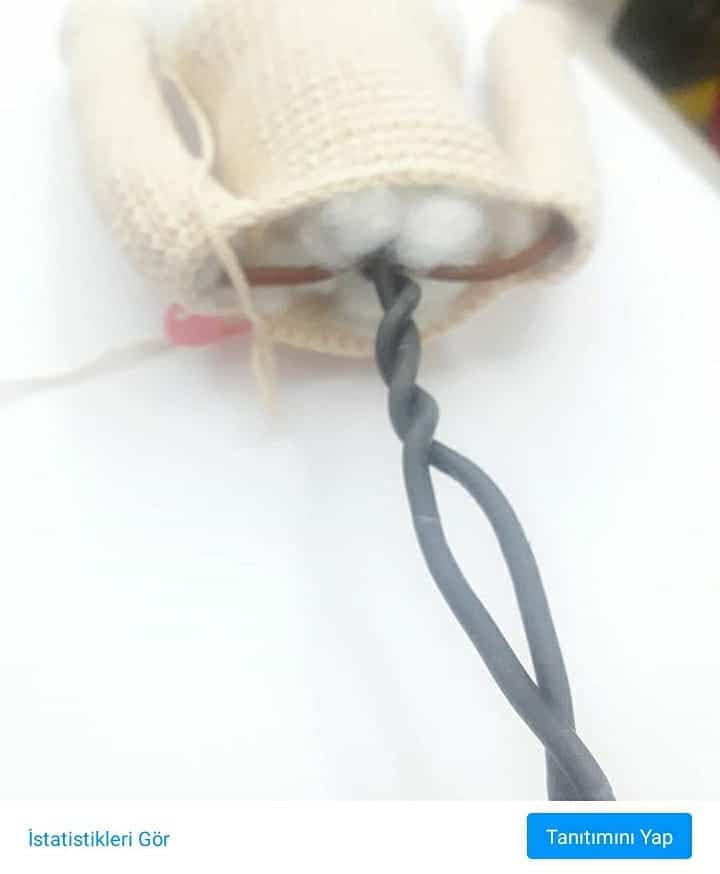
KULLANILAN TELLER VE YERLEŞTİRİLMESİ
Kollar için 20-23 cm civarı 1,5″luk elektrik telini keselim. Uçlarını bantlayalım. 4 numara şiş ile kollar içine yol açalım ve telin iki ucuna da kolları takalım. Kol birleştirmeden önce yada birleştirdikten 1-2 sıra sonra yapabilirsiniz. Bacaklar ve gövde için 70 cm boyunda 2,5’luk teli ikiye katlayalım.4.5 ya da 5 numara bir şiş ile iki bacağa da yer açalım ve telin iki ucunu da ayaklara kadar gönderelim. Kolları birleştirdikten sonra teli biraz büküp kol tellerinin yukarı çıkmasını engelleyelim. (resimlere bakabilirsiniz) Vücudu boncuk elyaf ile çok sıkı bir şekilde dolduralım. Saçları yaparken sayfamdaki saç ekme* resimlerine bakabilirsiniz.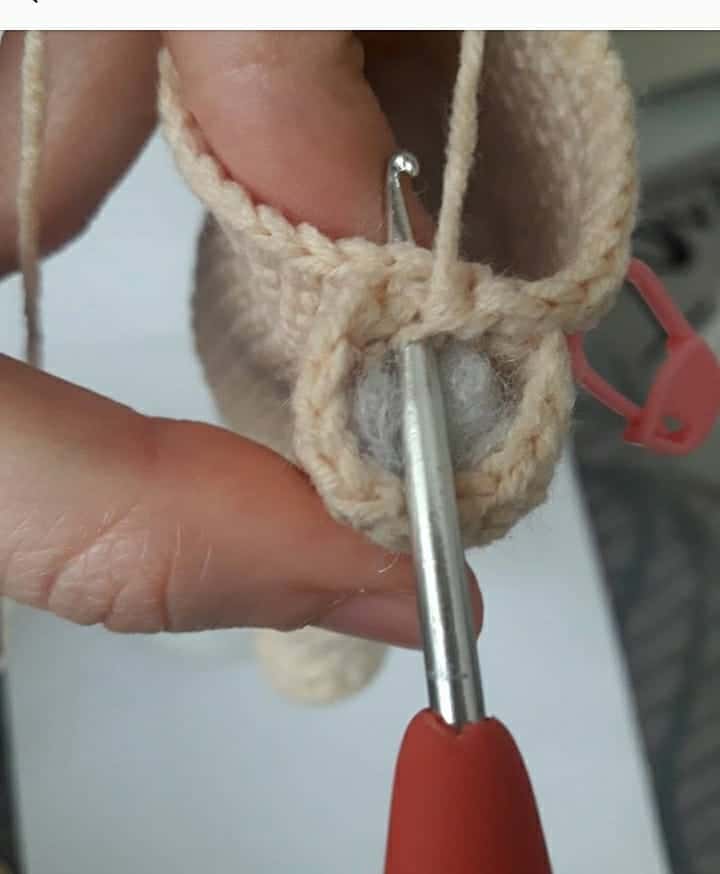
ELBİSE YAPIMI
Bluz
Beyaz ile:
1-46 zincir üstüne geri dönüp 44x
2-7x,7 zincir, 9x atla,7x,düğme iliği için 8 zincir geri dön bat
3-15. Sıralar arası 12 sıra 44x (10. Sırada ilik için yine 8 zincir çekip batalım.)
15. Sırada bluzun iki ucunu sık iğne ile birleştirip etek rengine geçelim.
Etek
16-2 zincir çekelim. Sıra boyunca her deliğe 2 adet ikili trabzan. Cc ile bağla
17-2 zincir çekelim. Sıra boyunca her deliğe 1 tek 1 çift ikili trabzan. Cc ile bağla
(çok kabarık etek istemeyenler bu sırayı 2 tek 1 çift trabzan yapabilirler.)
18-26. Sıralar arası 9 sira arttırma yapmadan devam edelim.
27. Sıra da flo olarak bir sıra ikili trabzan yapalım. Pembe ipi koparalim.
27. Sıranın blo kısmına beyaz ile bir sıra ikili trabzan
28. Sırada (blo üstüne) beyaz ile bir sıra ikili trabzan
Elbise Yakasi:
Bluz yakasının tam orta noktasında ipimizi geçirelim. Bluzun arkasında doğru ikili trabzan.2 zincir geri dön başlangıç noktasına doğru ikili trabzan. Yakanın diğer tarafı içinde aynı işlemi yapalım.
Elbisenin Askıları:
Etek belinden yakaya doğru uzanacak şekilde pembe ilmek kaydırma yapalım pembe ile.
Ipi ön tarafa alıp yakadan etek beline doğru her ilmeğe 2 ya da 3 tane olacak şekilde trabzan yapalım.
Elbise Kolu
Kol çevresi boyunca bir tek bir çift sık iğne yapalım.
Sonraki sıralarda arttırma azaltma yapmadan 5 sıra devam edelim.
Bir sıra pembe ile kol çevresine sık iğne yapalım.
Ayakkabı Yapımı
1-11 zincir, 2. zincire 1x, 8x, aynı yere 4x, 8x, 1v =23x
2-1v, 8x, 4v, 8x, 2v=30
3-1x, 1v, 4x, 4 hdc, (1hdc, 1v)*4, 4hdc, 4x, (1x,1v*2)=37x
4- 2x, 1v, 8x, (2x,1v)*4, 8x, (2x,1v)*2 =44x
5- ilmek kaydırma ile 44x (sarı renk kullandım)
6-8 arası=44x
9-Tekli trabzan olarak 13x, 9a, 12x (10.sıra için sarı renge geçin)
10-cc olarak 44x (ayakkabı bağını yapacağınız yere 30 zincir çekip cc ‘ye devam edin.
Tokanın Yapımı
Çiçek yaprakları: 5 adet yapılacak
-Sh içine 6x
– 1x lv
-2x, 1v
-3x, lv =15x
-3 Sıra =15x
-3x, 1a
ikiye katlayıp birlikte örelim.5x,1zincir, geri dön.5x,iki ucu birleştir.
Çiçek ortası; burun tarifi ile aynıdır. Yeşil yaprak için; 15 zincir üstüne küçükten büyüğe trabzan ortaya geldiğinizde büyükten küçüğe, zincirin diğer kısmına da aynı işlemi yapalım.2 adet yaprak yapalım. Kafa çevresince zincir üstüne trabzan ile taç oluşturalım. Çiçeğide tacın üstüne dikelim.
Çanta Yapımı
6 Zincirden halka yapalım. İçine 12dc.Sonraki sırada çifter trabzanla 24dc elde edelim.
16 de blo olarak yapalım. 10 zincir çekelim, karşıya bağlayalım.
-(2hdc, 1a) sira boyunca
2 Sıra boyunca sürekli hdc olarak azaltma yaparak bitirelim.
Kulpları için zincir çekelim ve çanta önüne püskül ekleyelim.
Çiçekli Kız tarifimiz tamamladı. Umarım buraya kadar gelip tarifi tamamlamışsınızdır. Keyifle Örün…