<img src=”https://xn--amgurum-sfb.com/wp-content/uploads/2020/04/1-2.jpg” />
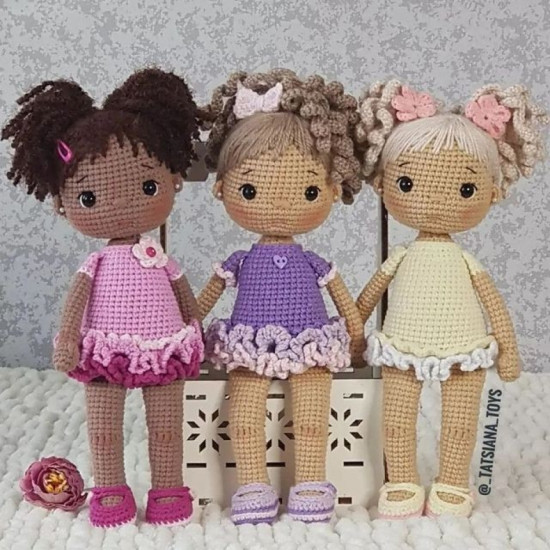
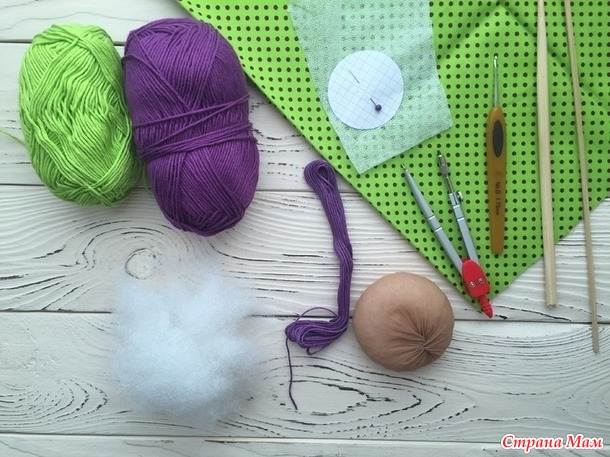
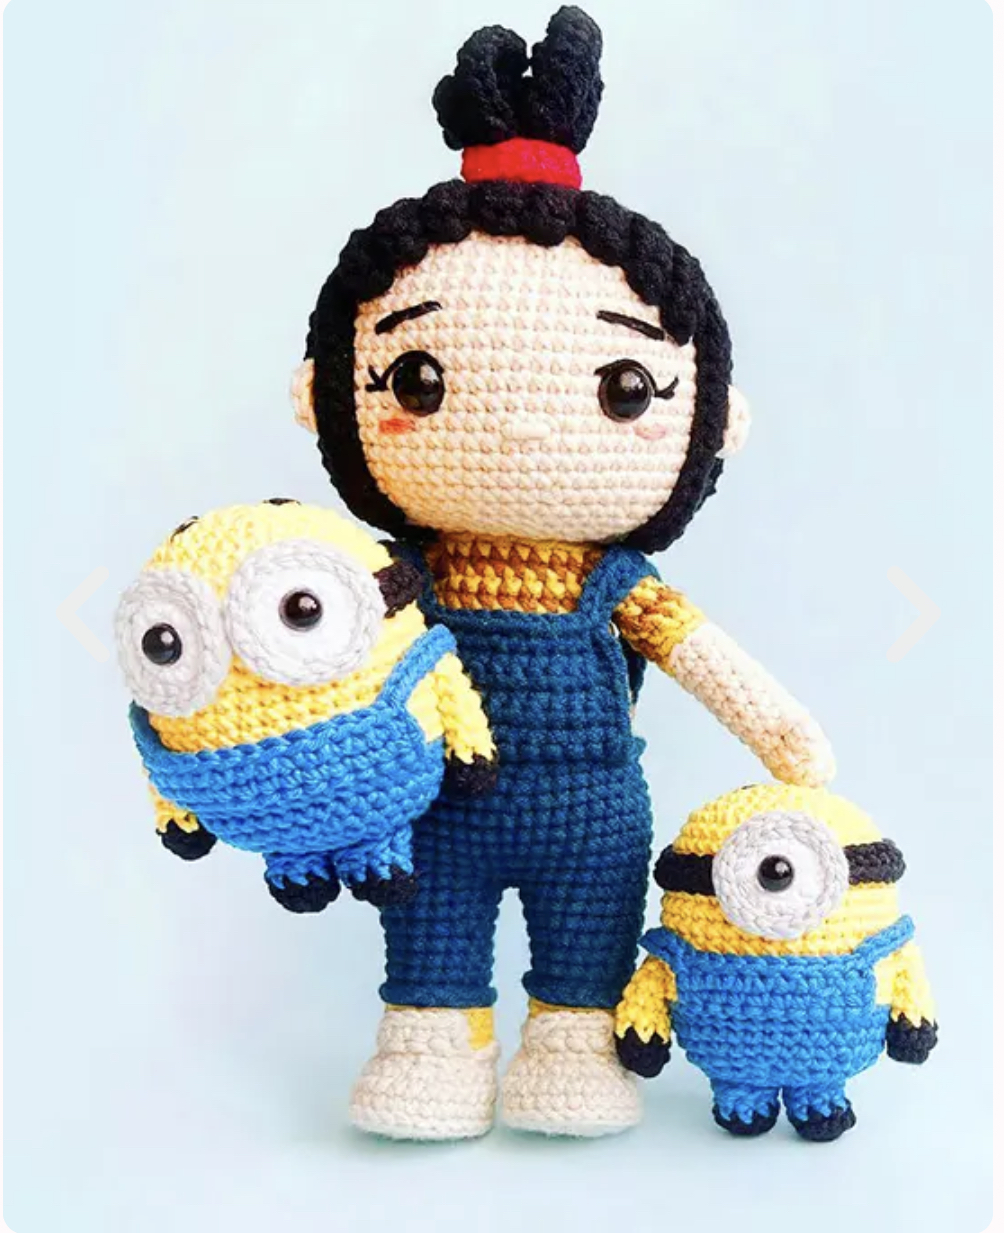
<strong><em>You will need;</em></strong>
hook 2.5 mm
<div class=”code-block code-block-2″>
</div>
eyes 10 mm
ınkyazh beige, white, gray. light brown, pink, light gray and lilac
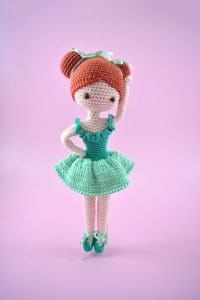
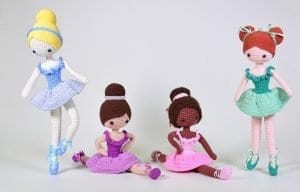
doll about 38 cm, ın knit 100% cotton.
<div class=”code-block code-block-3″>
</div>
<strong><em>Head;</em></strong>
Beige
P1: 6 sc in the ring
P2: ınc (x6) – 12 sc
P3: * sc, ınc * (x6) – 18 sc
<div class=”code-block code-block-4″>
</div>
P4: * 2 sc, ınc * (x6) – 24 sc
P5: * 3 sc, ınc * (x6) – 30 sc
P6: * 4 sc, ınc * (x6) – 36 sc
P7: * 5 sc, ınc * (x6) – 42 sc
P8: * 6 sc, ınc * (x6) – 48 sc
P9: * 7 sc, ınc * (x6) – 54 sc
P10: * 8 sc, ınc * (x6) – 60 sc
P11: * 9 sc, ınc * (x6) – 66 sc
P12-21: 66 sc
Between the 14th and 15th rows we place the eyes at a distance of 6 loops.
P22: * 9 sc, dec * (x6) – 60 sc
P23: * 8 sc, dec * (x6) – 54 sc
P24: * 7 sc, dec * (x6) – 48 sc
P25: * 6 sc, dec * (x6) – 42 sc
P26: * 5 sc, dec * (x6) – 36 sc
P27: * 4 sc, dec * (x6) – 30 sc
P28: * 3 sc, dec * (x6) – 24 sc
Embroider the nose in a width of 2 loops, retreating 3 rows from the eyes
<strong><em>Body;</em></strong>
Beige
P1: 6 sc in the ring
P2: ınc (x6) – 12 sc
P3: * sc, ınc * (x6) – 18 sc
P4: * 2 sc, ınc * (x6) – 24 sc
P5: * 3 sc, ınc * (x6) – 30 sc
P6: * 4 sc, ınc * (x6) – 36 sc
P7: * 5 sc, ınc * (x6) – 42 sc
P8: * 6 sc, ınc * (x6) – 48 sc
P9: * 7 sc, ınc * (x6) – 54 sc
P10: * 8 sc, ınc * (x6) – 60 sc
P11: * 9 sc, ınc * (x6) – 66 sc
P12-17: 66 sc
P18: * 9 sc, dec * (x6) – 60 sc
P19-21: 60 sc
P22: * 8 sc, dec * (x6) – 54 sc
P23-25: 54 sc
P26: * 7 sc, dec * (x6) – 48 sc
P27-29: 48 sc
P30: * 6 sc, dec * (x6) – 42 sc
P31-33: 42 sc
P34: * 5 sc, dec * (x6) – 36 sc
P35: 36 sc
P36: * 4 sc, dec * (x6) – 30 sc
P37: 30 sc
P38: * 3 sc, dec * (x6) – 24 sc
P39-42: 24 sc
We fill and sew the head with the body.
<strong><em>Hands (2);</em></strong>
Beige
P1: 6 sc in the ring
P2: ınc (x6) – 12 sc
P3: * sc, ınc * (x6) – 18 sc
P4-8: 18 sc
P9: * dec, sc (x6) – 12 sc
P10-34: 12 sc
We fill the brush denser than the hand.
Fold in half and sew with 6 stitches.
We are inscribed to the 8th row from the head.
<strong><em>Legs (2);</em></strong>
White
8 ch
P1: in the second loop from the hook, ınc, 5 sc, 4 sc in 1, on the second side, 5 sc, ınc – 18 sc
P2: sc, ınc, 4 sc, ınc (x6), 4 sc, ınc, sc – 26 sc
P3: 2 sc, ınc, 4 sc, * sc, ınc * (х6), 4 sc, ınc, sc – 34 sc
P4: ınc, 9 sc, ınc, * 2 sc, ınc * (x5), 8 sc – 41 sc
P5: sc, ınc, 39 sc – 42 sc
P6: behind the back wall, 42 sc
Dark grey
P7-9: 42 sc
P10: 12 sc, dec, * 2 sc, dec * 9×5), 8 sc – 36 sc
P11: 36 sc
P12: 11 sc, dec, * sc, dec * (x5), 8 sc – 30 sc
P13: 10 sc, dec (x6), 8 sc – 24 sc
P14: 24 sc
P15: * 2 sc, dec * (x6) – 18 sc
P16: 18 sc
White
P17: 18 sc
P18: behind the front wall, 18 sc
P19-21: 18 sc
Beige
From the 18th row
P22: behind the back wall, 18 sc
P23-40: 18 sc
P41: * sc, dec * (x6) – 12 sc
P42: dec (x6) – 6 sc
Incise to the 18th row of the body
<strong><em>Hat;</em></strong>
Purple
P1: 6 sc in the ring
P2: ınc (x6) – 12 sc
For each row behind the back wall, start at 2 ch, finish s.p.
P3: 2 ch, * hdc, ınc * (x6) – 18 hdc
P4: 2 ch, * 2 hdc, ınc * (x6) – 24 hdc
P5: 2 ch, * 3 hdc, ınc * (x6) – 30 hdc
P6: 2 ch, * 4 hdc, ınc * (x6) – 36 hdc
P7: 2 ch, * 5 hdc, ınc * (x6) – 42 hdc
P8: 2 v, n, * 6 hdc, ınc * (x6) – 48 hdc
P9: 2 ch, * 7 hdc, ınc * (x6) – 54 hdc
P19: 2 ch, * 8 hdc, ınc * (x6) – 60 hdc
P11: 2 ch, * 9 hdc, ınc * (x6) – 66 hdc
P12: 2 ch, * 10 hdc, ınc * (x6) – 72 hdc
P13: 2 ch, * 11 hdc, ınc * (x6) – 78 hdc
P14-22: 78 hdc
P23: 1 ch, * 2 sc, dec * (x17), 8 sc – 59 sc
P24-25: 1 ch, 59 sc
P26: 1 ch, * 4 sc, dec * (x9), 5 sc – 50 sc
P27-30: 2 ch, ınc hdc – 100 hdc
P31: Walking step.
<em><strong>Wig;</strong></em>
P1: 6 sc in the ring
P2: ınc (x6) – 12 sc
P3: * sc, ınc * (x6) – 18 sc
P4: * 2 sc, ınc * (x6) – 24 sc
P5: * 3 sc, ınc * (x6) – 30 sc
P6: * 4 sc, ınc * (x6) – 36 sc
P7: * 5 sc, ınc * (x6) – 42 sc
P8: * 6 sc, ınc * (x6) – 48 sc
P9: * 7 sc, ınc * (x6) – 54 sc
P10: * 8 sc, ınc * (x6) – 60 sc
P11: * 9 sc, ınc * (x6) – 66 sc
P12: * 10 sc, ınc * (x6) – 72 sc
P13: 72 sc
Next we knit hair
45 ch, the second loop from the hook, s.p. in each loop, s.p. to the wig (x62)
View all images
<strong><em>Dress;</em></strong>
Pink
P1: 40 + 8 ch
In 9 from the hook loop 40 sc, turn – 40 sc
P2: 1 ch, * 2 sc, ınc * (х13), sc, turn – 53 sc
P3: 1 ch, 6 sc, 10 ch, (ınc omit 10 loops), 21 sc, 10 ch, (ınc omit 10 loops), 6 sc, rotate – 53 sc
P4: 1 ch, 53 sc, turn
P5: 1 ch, * 2 sc, ınc * (x17) 2 sc – 70 sc
P6: 1 ch, * sc, ınc * (x34), 2 sc – 104 sc
P7-8: 1 ch, 104 sc
P9: 8 ch, 104 sc
P10-14: 1 ch, 104 sc
Next, we knit in a circle.
P15-29: 1 ch, 104 sc
P30: 1 ch, dec, 103 sc
P31: 1 ch, dec, 102 sc
<strong><em>Dress strapping:</em></strong>
P1: * 3 ch, 2 loops ınc omit, s.p. * along the entire row
P2: 1 s.p. into the first arch, 3 ch, 2 dc together, 2 ch, 3 dc together, 2 ch, 2 dc together, sc.
<strong><em>Apron;</em></strong>
White
P1: 15 ch, start the second from the hook 15 sc, turn
P2-16: 1 ch, 14 sc, turn
P17: 4 ch, 3 ss2n, 3 dc, 3 hdc, 3 sc, 2 s.p.
<strong><em>Shorts;</em></strong>
White
P1: 60 ch
P2: 3 ch, 1 loop ınc skip, 1 hdc, 1 ch, 1 loop ınc skip, 1 hdc, 1 ch, 1 loop ınc skip, 1 hdc, 1 ch, 1 loop ınc skip
P3-8: 3 ch, 1 dc in each loop
We knit a trouser-leg.
P9: 3 ch, 30 dc, turn
P10: 3 ch, 30 dc, turn
P11: 3 ch, ınc in each loop, turn
P12: 3 ch, dc in each loop, turn
P13: 3 ch, ınc in each loop.
Similarly, we knit a second leg
<strong><em>Flower;</em></strong>
P1: in the ring of amigurumi 3 ch, 2 dc, 3 ch, 1 s.p. (x4)
Blouse;
P1: 4 ch in the ring, 3 ch, 2 dc in the ring, * 3 dc, 2 ch * (x5)
P2: 3 ch, turn, 2 dc into the arch, 2 ch, 3 dc into the same arch, * 1 ch, 3 dc into the arch, 2 ch, 3 dc into the same arch * (x5), 2 ch
P3: 3 ch, turn, 2 dc into the arch, * 1 ch, 3 dc, 2 ch, 3 dc into the same arch, 1 ch, 3 dc * (x5)
P4: 3 ch, turn, 2 dc, * 1 ch, 3 dc, 2 ch, 3 dc in the same arch, 1 ch, 3 dc, 1 ch, 3 dc, 1 ch, 3 dc * (x5), 1 ch, 3 dc, 1 ch
P5: 3 ch, turn, 2 dc into the arch, 1 ch, 3 dc, * 1 ch, 3 dc, 2 ch, 3 dc into the same arch, 1 ch, 3 dc, 1 ch, 3 dc, 1 ch, 3 dc * (x5), 1 ch, 3 dc, 2 ch, 3 dc, 1 ch, 3 dc, 1ch
We knit the second part in the same way, fold it with the letter L, knit and sew.<img src=”https://xn--amgurum-sfb.com/wp-content/uploads/2020/04/SSS-min-1024×1024.jpg” />
")


 SKIRT (inner layer)
 Go back to round 34, hold the doll body upside down, attach new PINK yarn

 HAIR STRAND (first layer)Continue to crochet the hair strands starting from the last stitch in round 4Stitch 1-16(45CH, turn to 2


 Vi algunos tutoriales geniales en Internet: cómo curvar amigurumi.


 Vuelta 19, girarás aquí después de 13 pb y harás el talónVuelta 28 – coserás el primer pb allí
 28.) 4 pb en el costado, 10 10 en (27) el y 9 pb en la espalda
 Ahora seguirás con el ▫CUERPO ▫
 142.) ( 9pb, diciembre ) * 6 (60)


 Haz medio corazón y cose las orejas Empezar con el 1S tsc del inc en la esquina de la oreja
 COLA ▫
 MEJILLAS ▫-color de la carrocería, haz 2


 Comenzarás a unir las dos piernas Piernas izquierdas
 Vuelta 48: como mencioné anteriormente, tendrás que coser entre las piernas para, donde uniste las piernas.
 Aquí: verá una U o un semicírculo – Aquí: la flecha señala el último punto de la o coser allí vuelta anterior, el último punto


 Head-torso:
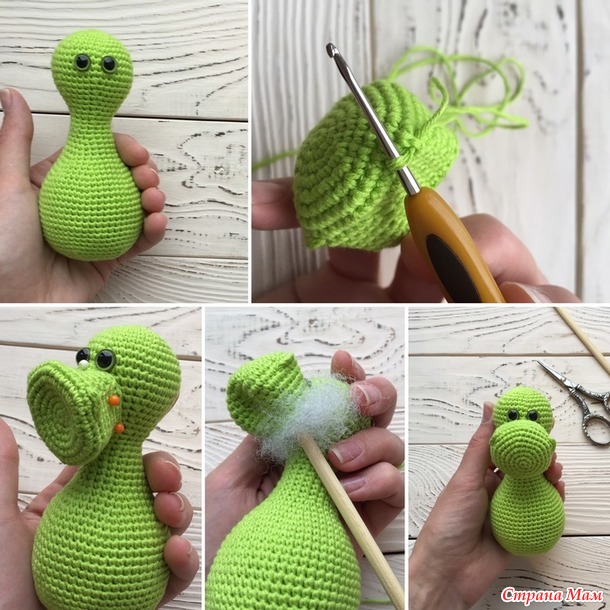 Legs (2 pieces):
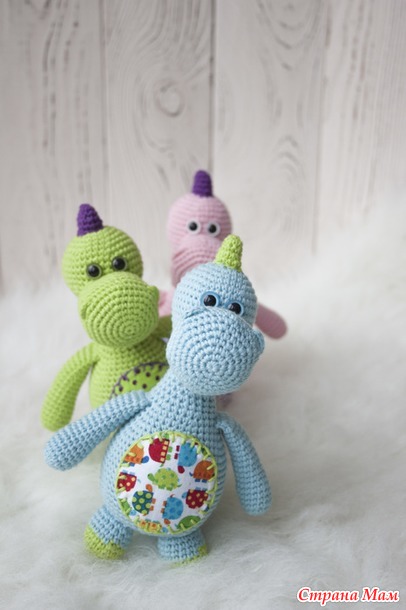
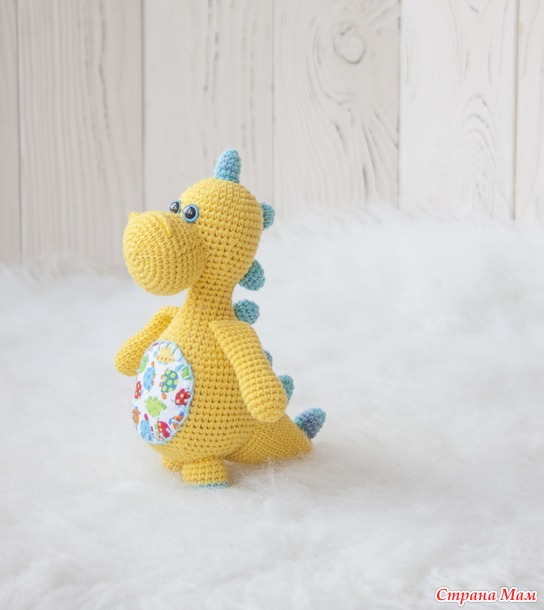
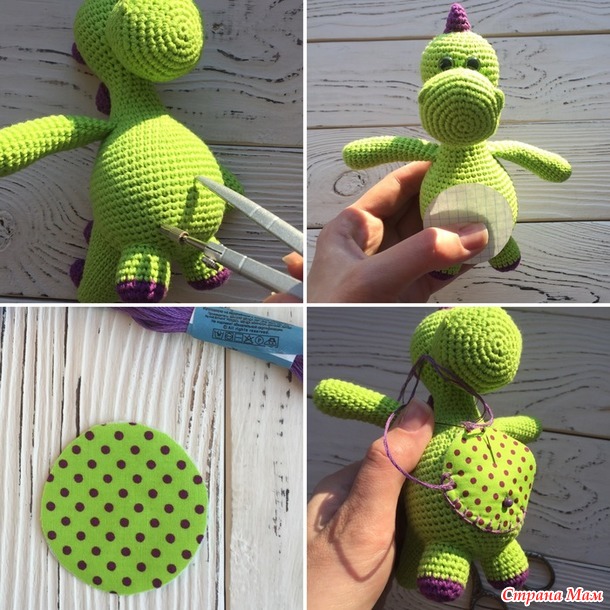
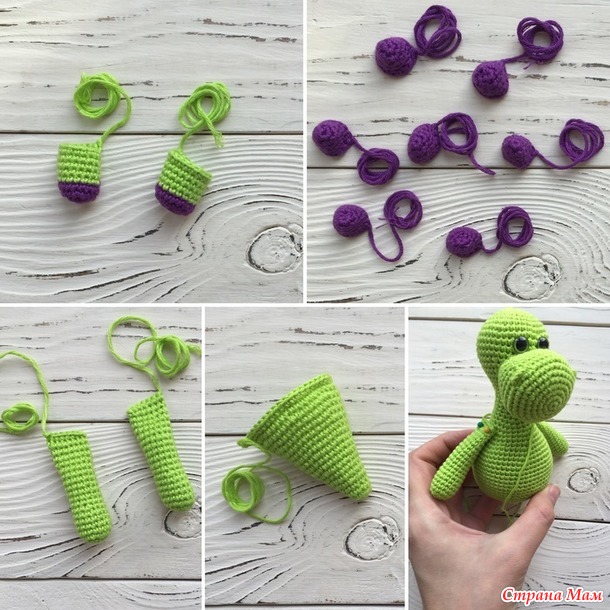 I like the next stage the most, when we select a textile insert for the belly. Of course, I select the colors in advance along with the yarn.
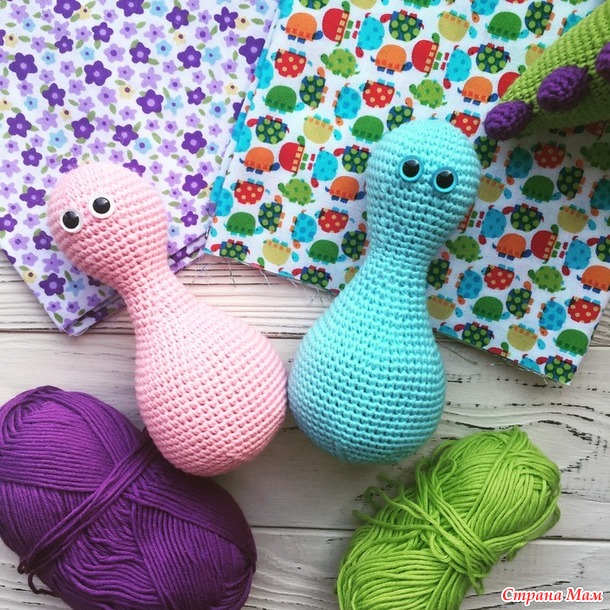


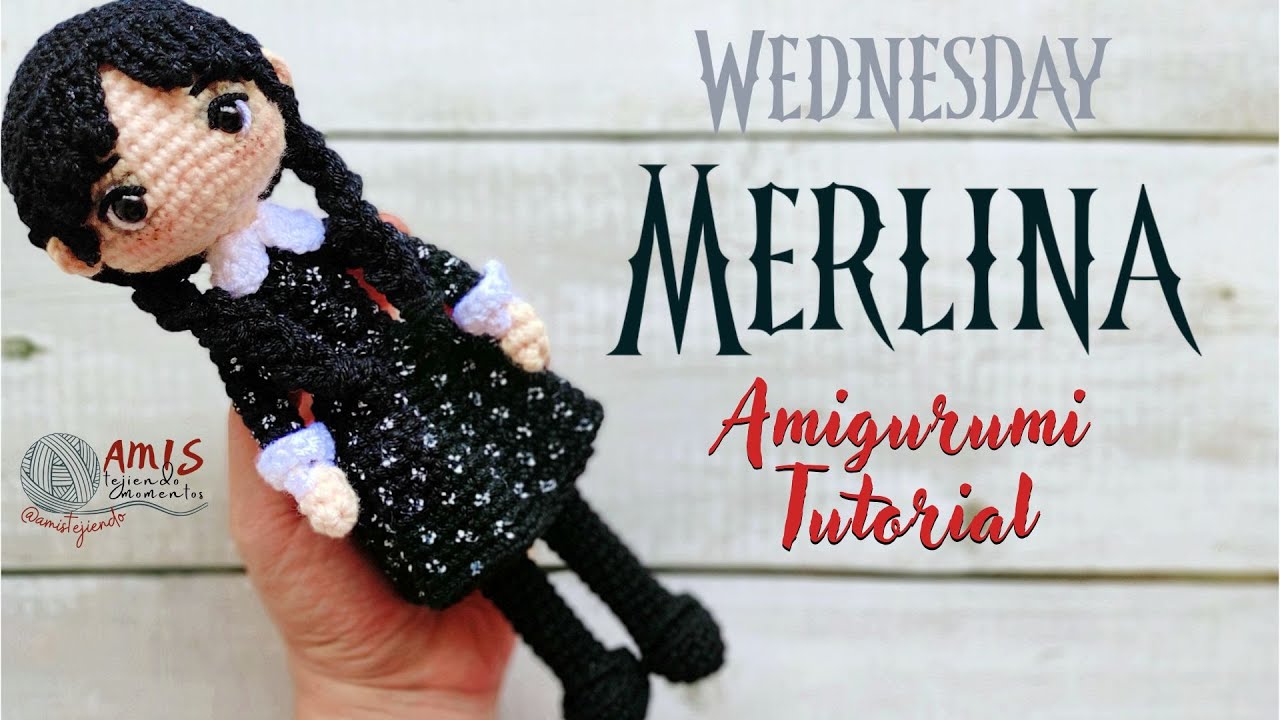

 Finally, let’s go to the video and learn the details of the amigurumi Wednesday recipe.

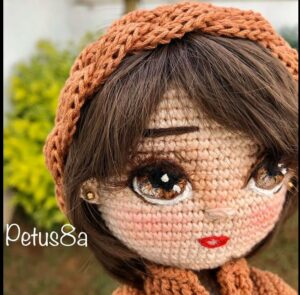
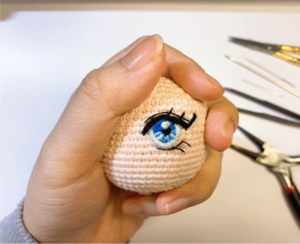
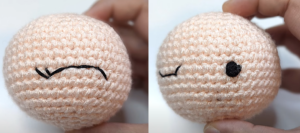 The eyes we will learn how to do will stand as above. Very beautiful eye models. From the eyes that we will apply to big babies and small babies. Blue eyes, green eyes, hazel eyes, brown eyes, black eyes… You can apply them all to your babies. If you’re ready, let’s move on to the lectures. Let’s learn how to embroider an amigurumi eye with a needle. Enjoy watching.

 Dress Me Bunny,
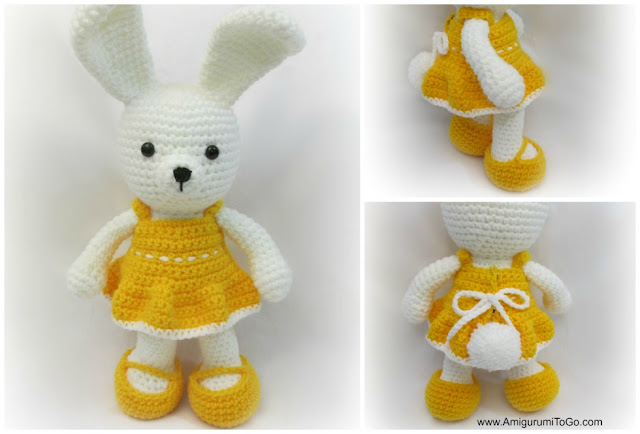

 Solid Tail

 Now you should hop on over to my if you’d like to show off your Bunny!

